

Updated on July 19, 2026
Knowing how to use a 3D pen is a huge relief when you have just gifted one to your child: where to start, how to load the filament, and above all, how to help them succeed with their first creation without frustration? Good news: it is much easier than it looks. This beginner's guide walks parents and kids through every step so those first 3D drawings come to life on day one.
The 4 steps at a glance
Using a 3D pen comes down to 4 steps: load the filament (less than a minute), draw flat, build in 3D, then take on fun 10 to 20-minute projects. A child aged 6 or up will usually finish their first 3D creation on the very same day.
| Step | Goal | Concrete benchmark |
|---|---|---|
| 1. Load the filament | Insert the spool, cut at an angle | Less than one minute |
| 2. Draw flat | Control speed and pressure (2 speed modes) | A few minutes, from age 6 |
| 3. Build in 3D | Join flat shapes together with a line of filament | The filament hardens in seconds |
| 4. First creations | Flower, name, keychain with stencil | 10 to 20-minute projects |
How does a 3D pen work? The basic idea in two minutes
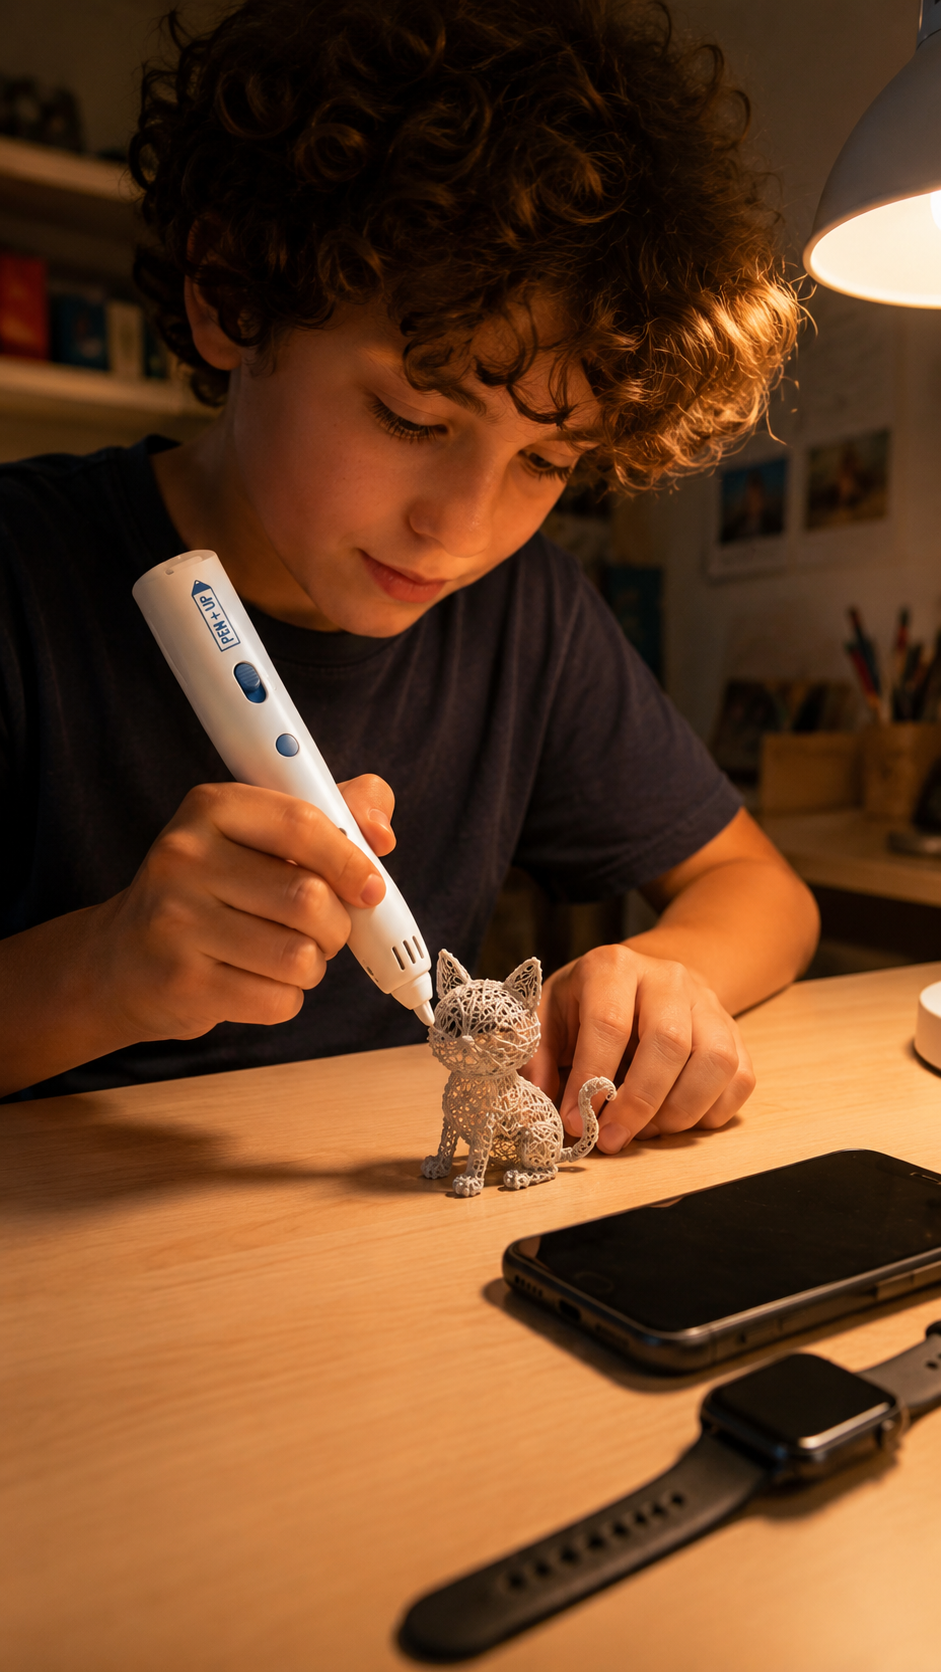
A 3D pen melts a flexible plastic strand that extrudes through the nozzle and hardens in seconds in the open air: kids no longer just draw flat on paper, they draw in 3D space. On the Pen'Up 3D, designed for children aged 6 and up, the nozzle surface stays at 35°C (independently lab-tested), with zero risk of burns: kids can safely touch it.

The secret lies in the filament: a low-temperature consumable (PCL) that melts inside the pen at only around 60°C. In contrast, high-temperature pens (PLA/ABS) heat up to between 190°C and 240°C and are strictly intended for teens and adults. With a low-temperature pen, a flower, a name, a little 3D animal… anything becomes possible, from age 6.
Step 1: how to load filament into the pen?
Loading the filament takes less than a minute: turn on the pen, cut the end of the Fil'Up spool (low-temperature PCL, 10 m, Ø 1.75 mm) at an angle, insert it into the back, and press the feed button until filament comes out of the tip. Only use official Fil'Up spools: unsuitable filament can clog or damage the pen.
- Turn on the pen and let it warm up for a few seconds: an indicator light usually shows when it is ready.
- Cut the end of the filament at an angle (to a point), like a toothpick. This is tip number one: a flat-cut filament struggles to catch, while an angle-cut filament slides right in.
- Insert the filament into the loading hole at the back of the pen and push gently until you feel it catch.
- Press the feed button: after a few seconds, the melted filament comes out through the nozzle. The pen is loaded!
If nothing comes out, do not panic: pull the filament out, re-cut it cleanly at an angle, and reinsert it. In 9 out of 10 cases, it is simply a matter of the cut.
Step 2: how to master the first flat drawing strokes?
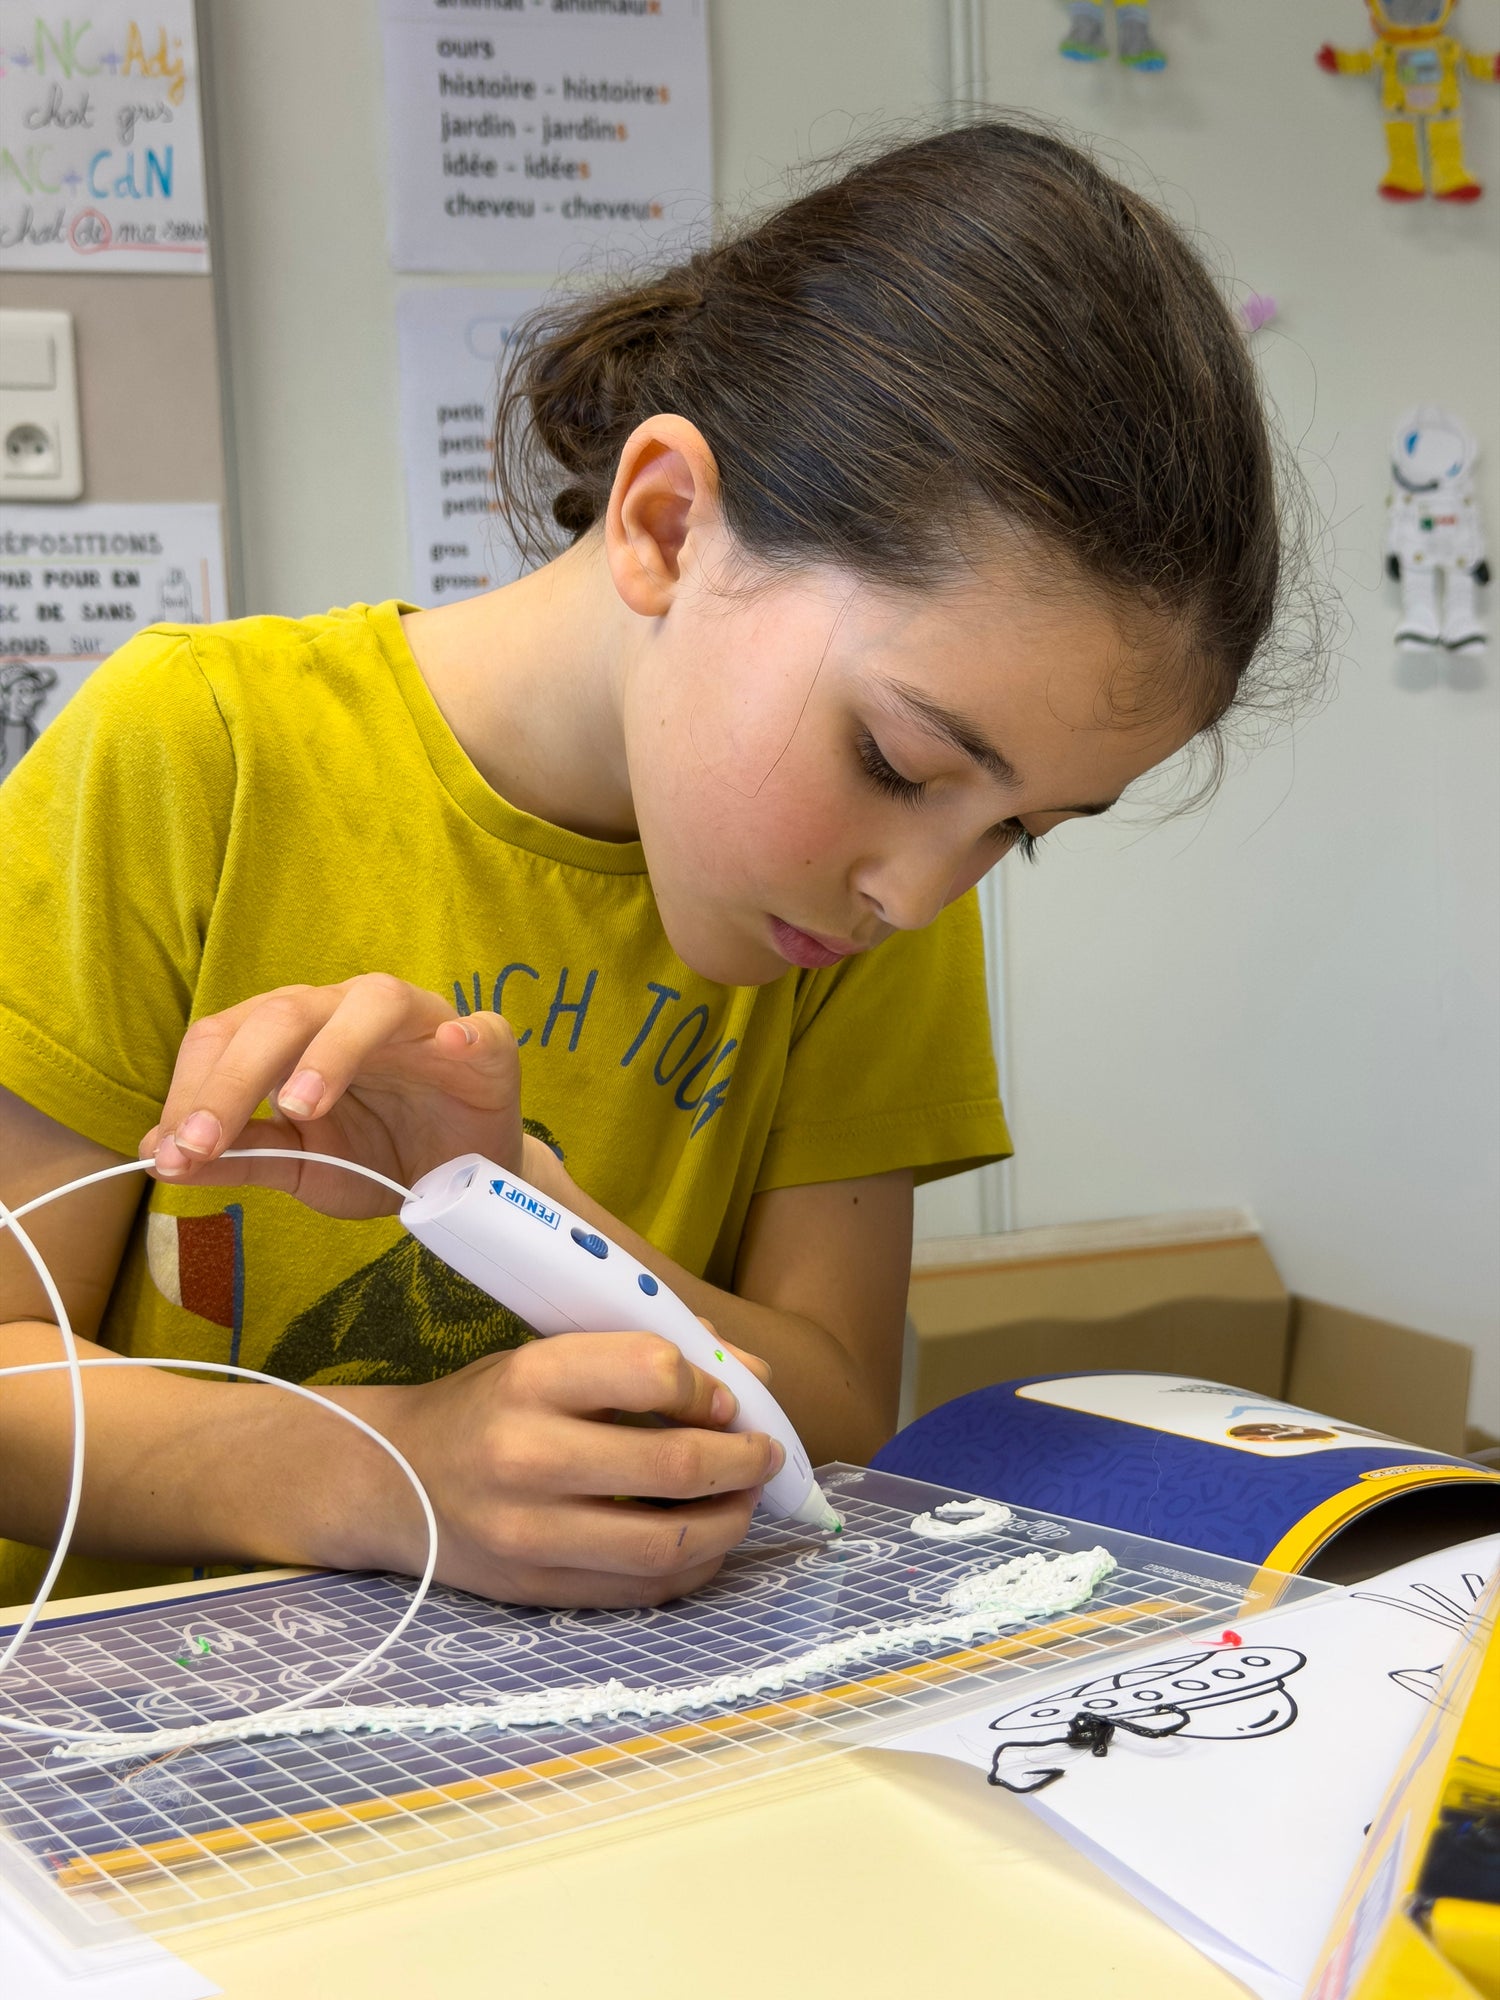
Always start flat on a smooth surface (sheet of paper, laminated placemat, Pad'Up stencil): children from age 6 learn in just a few minutes how to control speed, button pressure, and pen angle. The pen's 2 speed settings help slow down the flow at first while they get the hang of it.

- Speed: the slower you move the pen, the thicker and cleaner the line. Move too fast and the strand breaks; move too slowly and it builds up.
- Button pressure: steady pressure delivers a smooth, even flow. Release the button to stop.
- The angle: hold the pen almost like a pencil, slightly tilted, with the tip pointing toward the paper.
The best first activity? Trace over a stencil (a star, a heart, a letter). The child traces the outline, the filament hardens, and they peel off their very first raised 3D shape. Guaranteed "wow" effect!
This tracing action is actually richer than it seems. A longitudinal study published in Child Development (Cameron et al., 2012, link) observed that children who were better at copying shapes and drawings made slightly faster progress in reading during kindergarten. This finding applies to fine motor skills in general, as measured by researchers, and does not point to any specific creative tool; it simply serves as a reminder that tracing lines accurately provides genuine exercise for the hand.
Step 3: how to transition from flat drawing to 3D?
To switch to 3D, draw several flat shapes (the 6 faces of a cube, or 4 walls and a roof for a house), let them harden, then join them upright with a line of filament along the edges. The filament, melted at around 60°C inside the pen, bonds the pieces together as it hardens in a matter of seconds.
- Draw each side flat, for example on a stencil.
- Let each piece harden completely.
- Assemble them upright by welding the edges together with a line of filament.
You can also build upward directly: by drawing over the same spot multiple times, the filament stacks up and the object gains volume. This is kids' favorite step: creating their very first 3D objects to gift or collect.
This hands-on approach is also catching researchers' attention. A study published in Asia Pacific Education Review (Ng & Ye, 2022, link) observed elementary classrooms in Hong Kong using 3D pens during geometry lessons: by tracing edges and faces in 3D space themselves, students connected physical actions and words to abstract concepts like vertices and faces of solid shapes. The authors describe this as embodied learning: when the hands are involved, understanding follows much more naturally.
Step 4: which first creations are guaranteed to succeed?
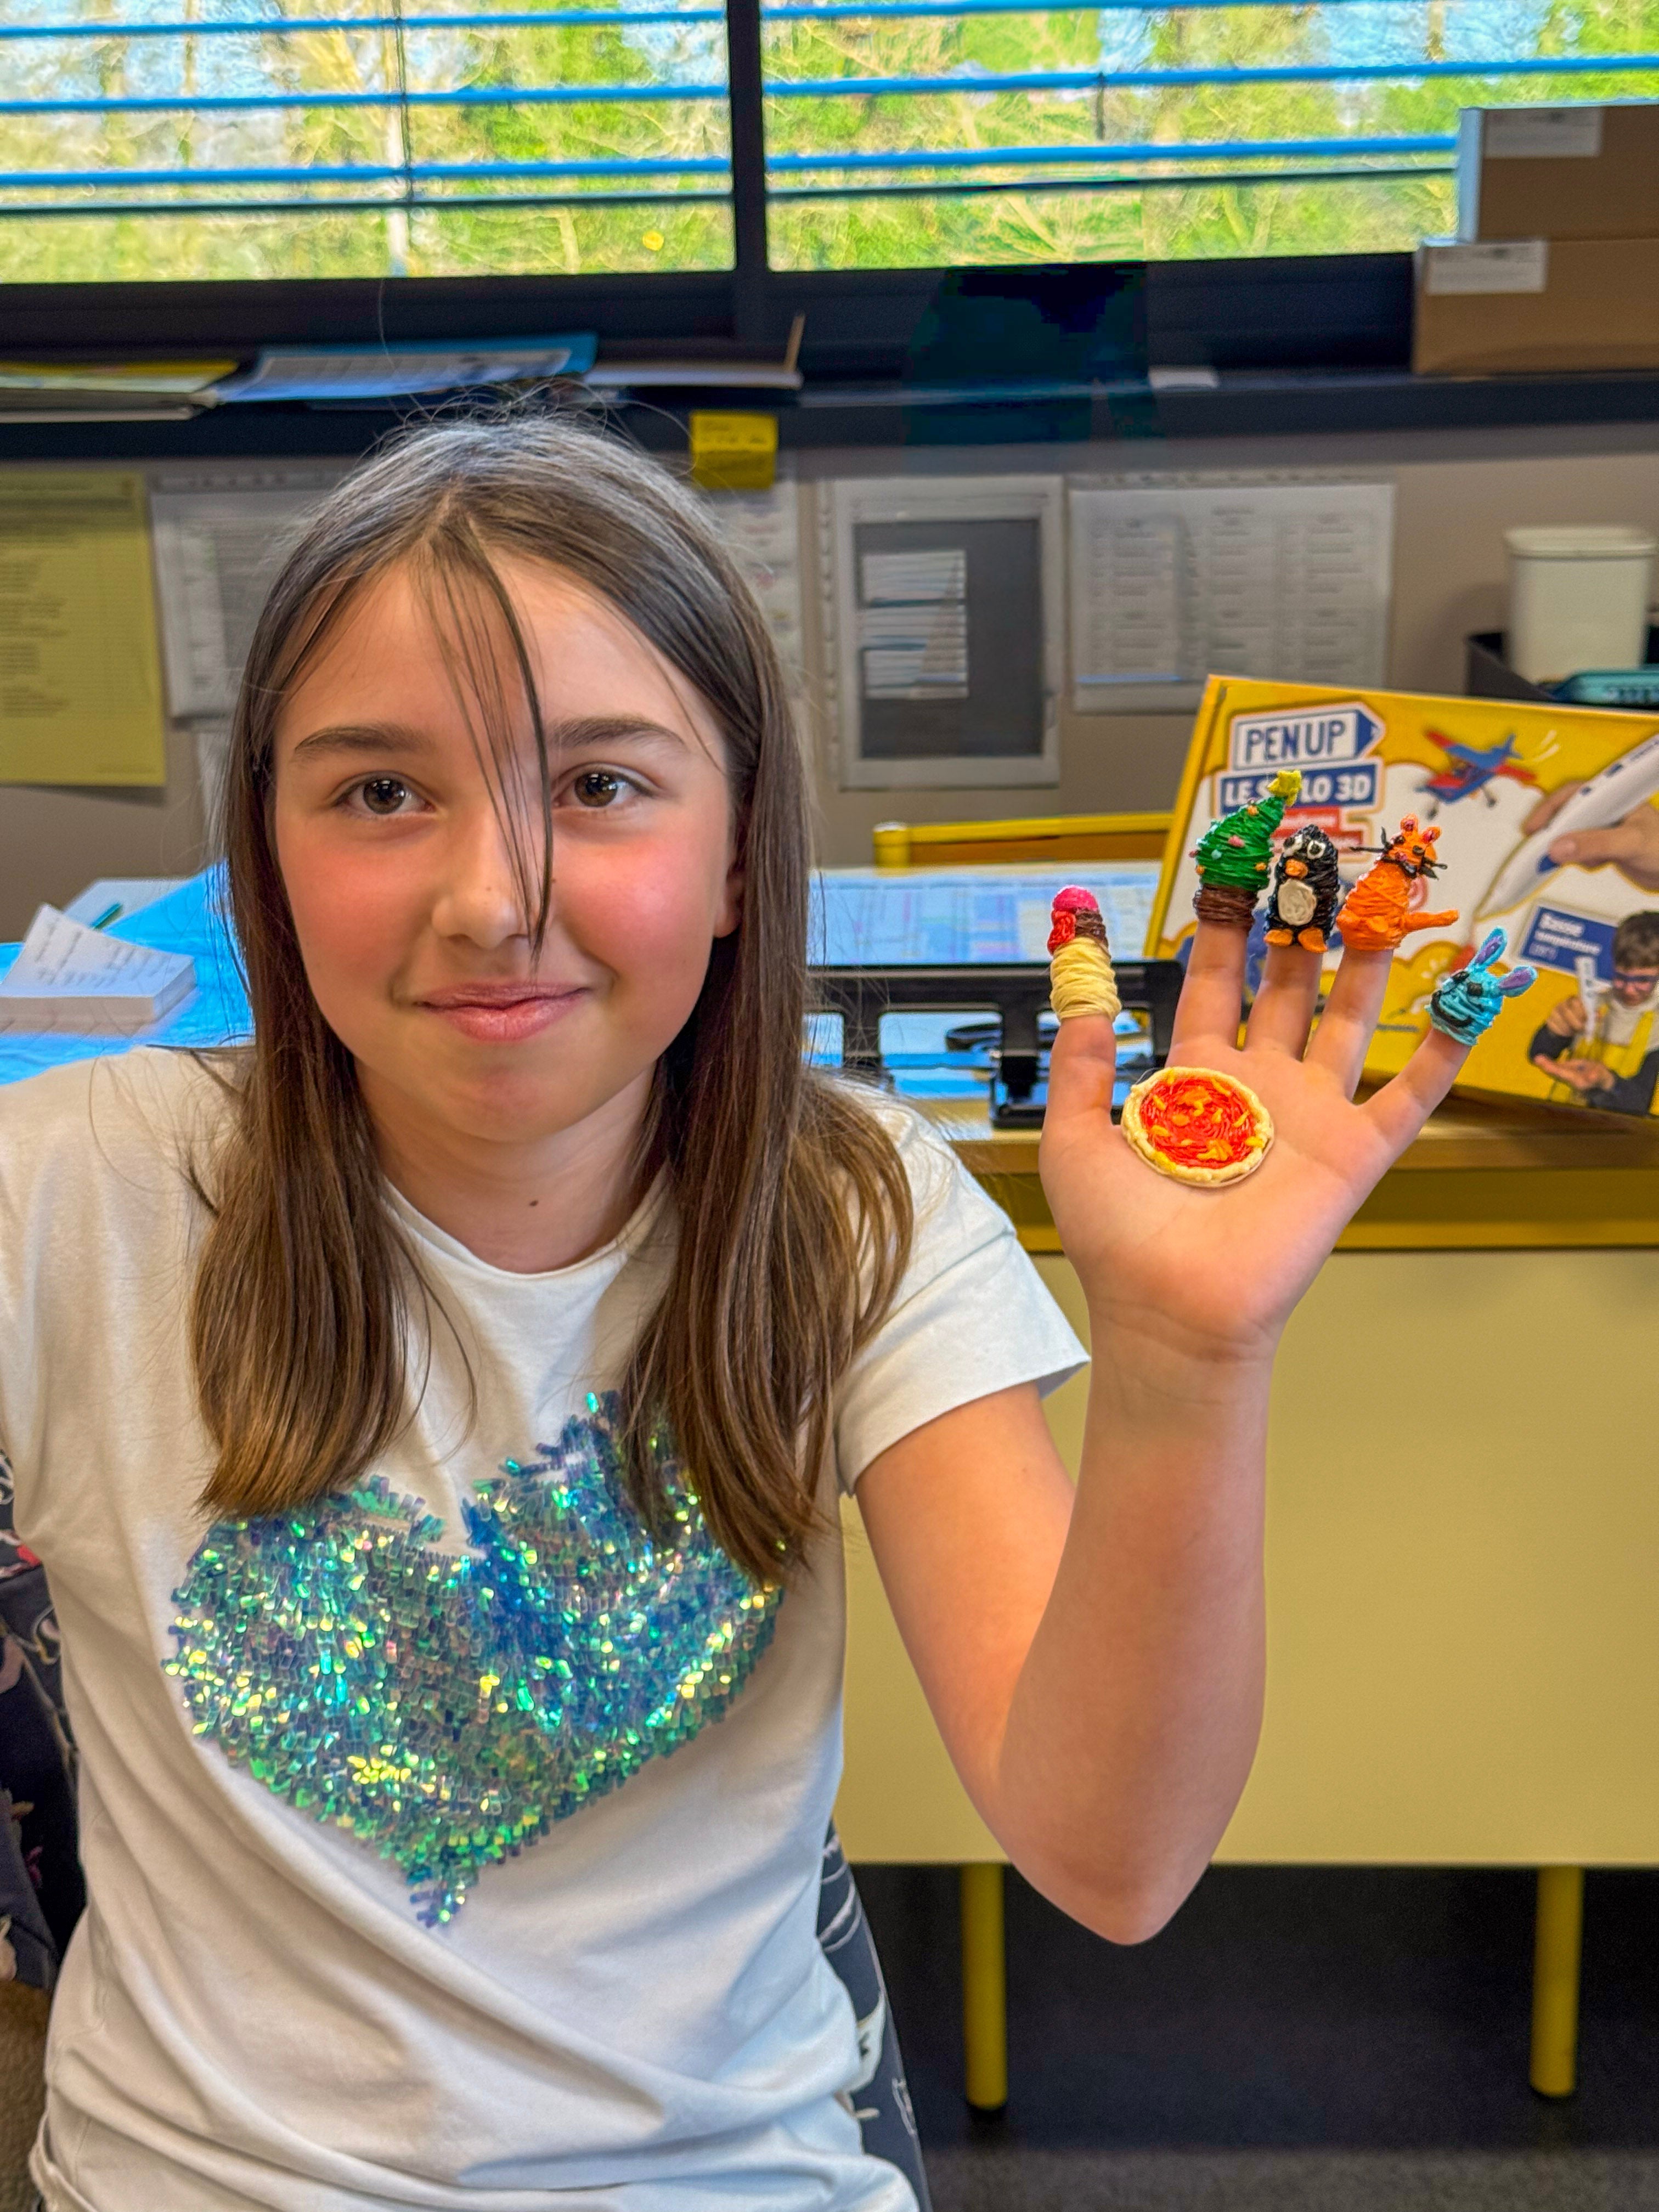
Go for simple 10 to 20-minute projects: a flower, a raised name, a stencil keychain, or a wearable crown. Pad'Up stencils, age-based activity books (6+, 9+, 12+), and the included templates give children everything they need to start creating on day one.

- A flower: flat petals, a stem, then assemble. Perfect for a first gift.
- A 3D name: trace the letters, thicken them, then peel them off.
- A keychain or simple figurine: with a stencil, you get clean results on the very first try.
- Glasses or a crown: "wearable" items that are tons of fun.
The goal is not perfection, but the joy of creating and the desire to try again. A quick tip: encourage your child to see their first project through to the end, even a simple one. Researchers (Norton, Mochon, and Ariely, 2012, Journal of Consumer Psychology, link) demonstrated what they call the IKEA effect in adults: we value an item we built ourselves much more than the same pre-made item, as long as we complete the assembly. That is likely what happens when a child proudly shows off their finished creation.
What tips help you get off to a good start (and avoid frustration)?
Four simple habits are all it takes: cut the filament at an angle before every load, work on a smooth surface, let the child experiment with their first strokes, and do not worry about running out of power mid-project: it offers about 1 hour of battery life, charges via USB-C, can be used while charging, and features auto-sleep mode.
- Always cut the filament at an angle before loading: that is the secret to a smooth flow.
- Plan to use the pen while charging: the Pen'Up 3D can be used plugged in (USB-C), so you never have to stop mid-creation; the rest of the time, it draws wirelessly.
- Work on a smooth surface (stencil, plastic) so the filament peels off easily.
- Let the child experiment: the first strokes will be a bit rough, which is completely normal; they will get the hang of it in just a few minutes.
What research says: Mihaly Csikszentmihalyi's work on "flow" (the state of being fully absorbed in an activity) shows that students' concentration peaks when the challenge matches their skill level: neither too easy nor too hard, and when they feel in control of their activity (Shernoff et al., 2003, School Psychology Quarterly, link). That is the exact logic behind this guide: start with a simple stencil, move on to slightly more ambitious models each time, and let the child choose their next project.
To get started easily, the best choice is the Pen'Up 3D Complete Pack (€99.99): the low-temperature pen, stencils, templates, and spools to start creating right away. To learn more about choosing the right pen and safety, read our complete guide to 3D pens for kids. And once your child gets the hang of it, top up with new Fil'Up filament spools (from €4.99) for even more colors.
FAQ: how to use a 3D pen?
The six questions parents ask us most often. For anything else, Pen'Up 3D customer service, based in Montauban, responds within 24 hours, and the pen is rated 4.88/5 across 2,300 verified reviews.
How to load filament into a 3D pen?
Turn on the pen, let it warm up, cut the end of the filament at an angle, insert it into the back, and press the feed button until filament extrudes from the nozzle. If the filament does not catch, re-cut it at a clean angle: that is almost always the solution.
What should beginners start with?
Start flat by tracing over a stencil (star, heart, letter): the child learns to control speed and pressure, then peels off their first 3D shape. Move on to 3D builds once these basic strokes are mastered.
Is it difficult for a child to learn?
No. A 3D pen designed for kids can be picked up in just a few minutes, from age 6, without complicated instructions. Most children successfully make their first 3D drawing on the very same day.
How to transition from flat drawing to 3D?
Draw several flat shapes, let them harden, then assemble them by laying down a line of filament along the edges: the warm filament welds the pieces together. You can also layer filament in the same spot to build upward.
Can you use the pen while it charges?
Yes. The Pen'Up 3D pen can be used while charging (USB-C), so there is no need to stop mid-creation. On battery power, expect about 1 hour of battery life: ideal for a full drawing session.
What to do if the filament does not come out?
Pull the filament out, re-cut it sharply at an angle (to a point), and reinsert it. In the vast majority of cases, the issue comes from a flat cut. If the problem persists, customer service based in Montauban responds within 24 hours.