

Updated on July 19, 2026
Finding the right 3D pen templates is often what turns a promising gift into a true passion: once the pen is in hand, kids mainly need project ideas tailored to their level. Here are 15 easy templates and designs to make with a 3D pen, ranked from simplest to most ambitious, so children aged 6 and up can succeed on day one and stay inspired to create more. From flowers to small 3D figurines, there is something for every skill level.
How do you get started with a 3D pen?
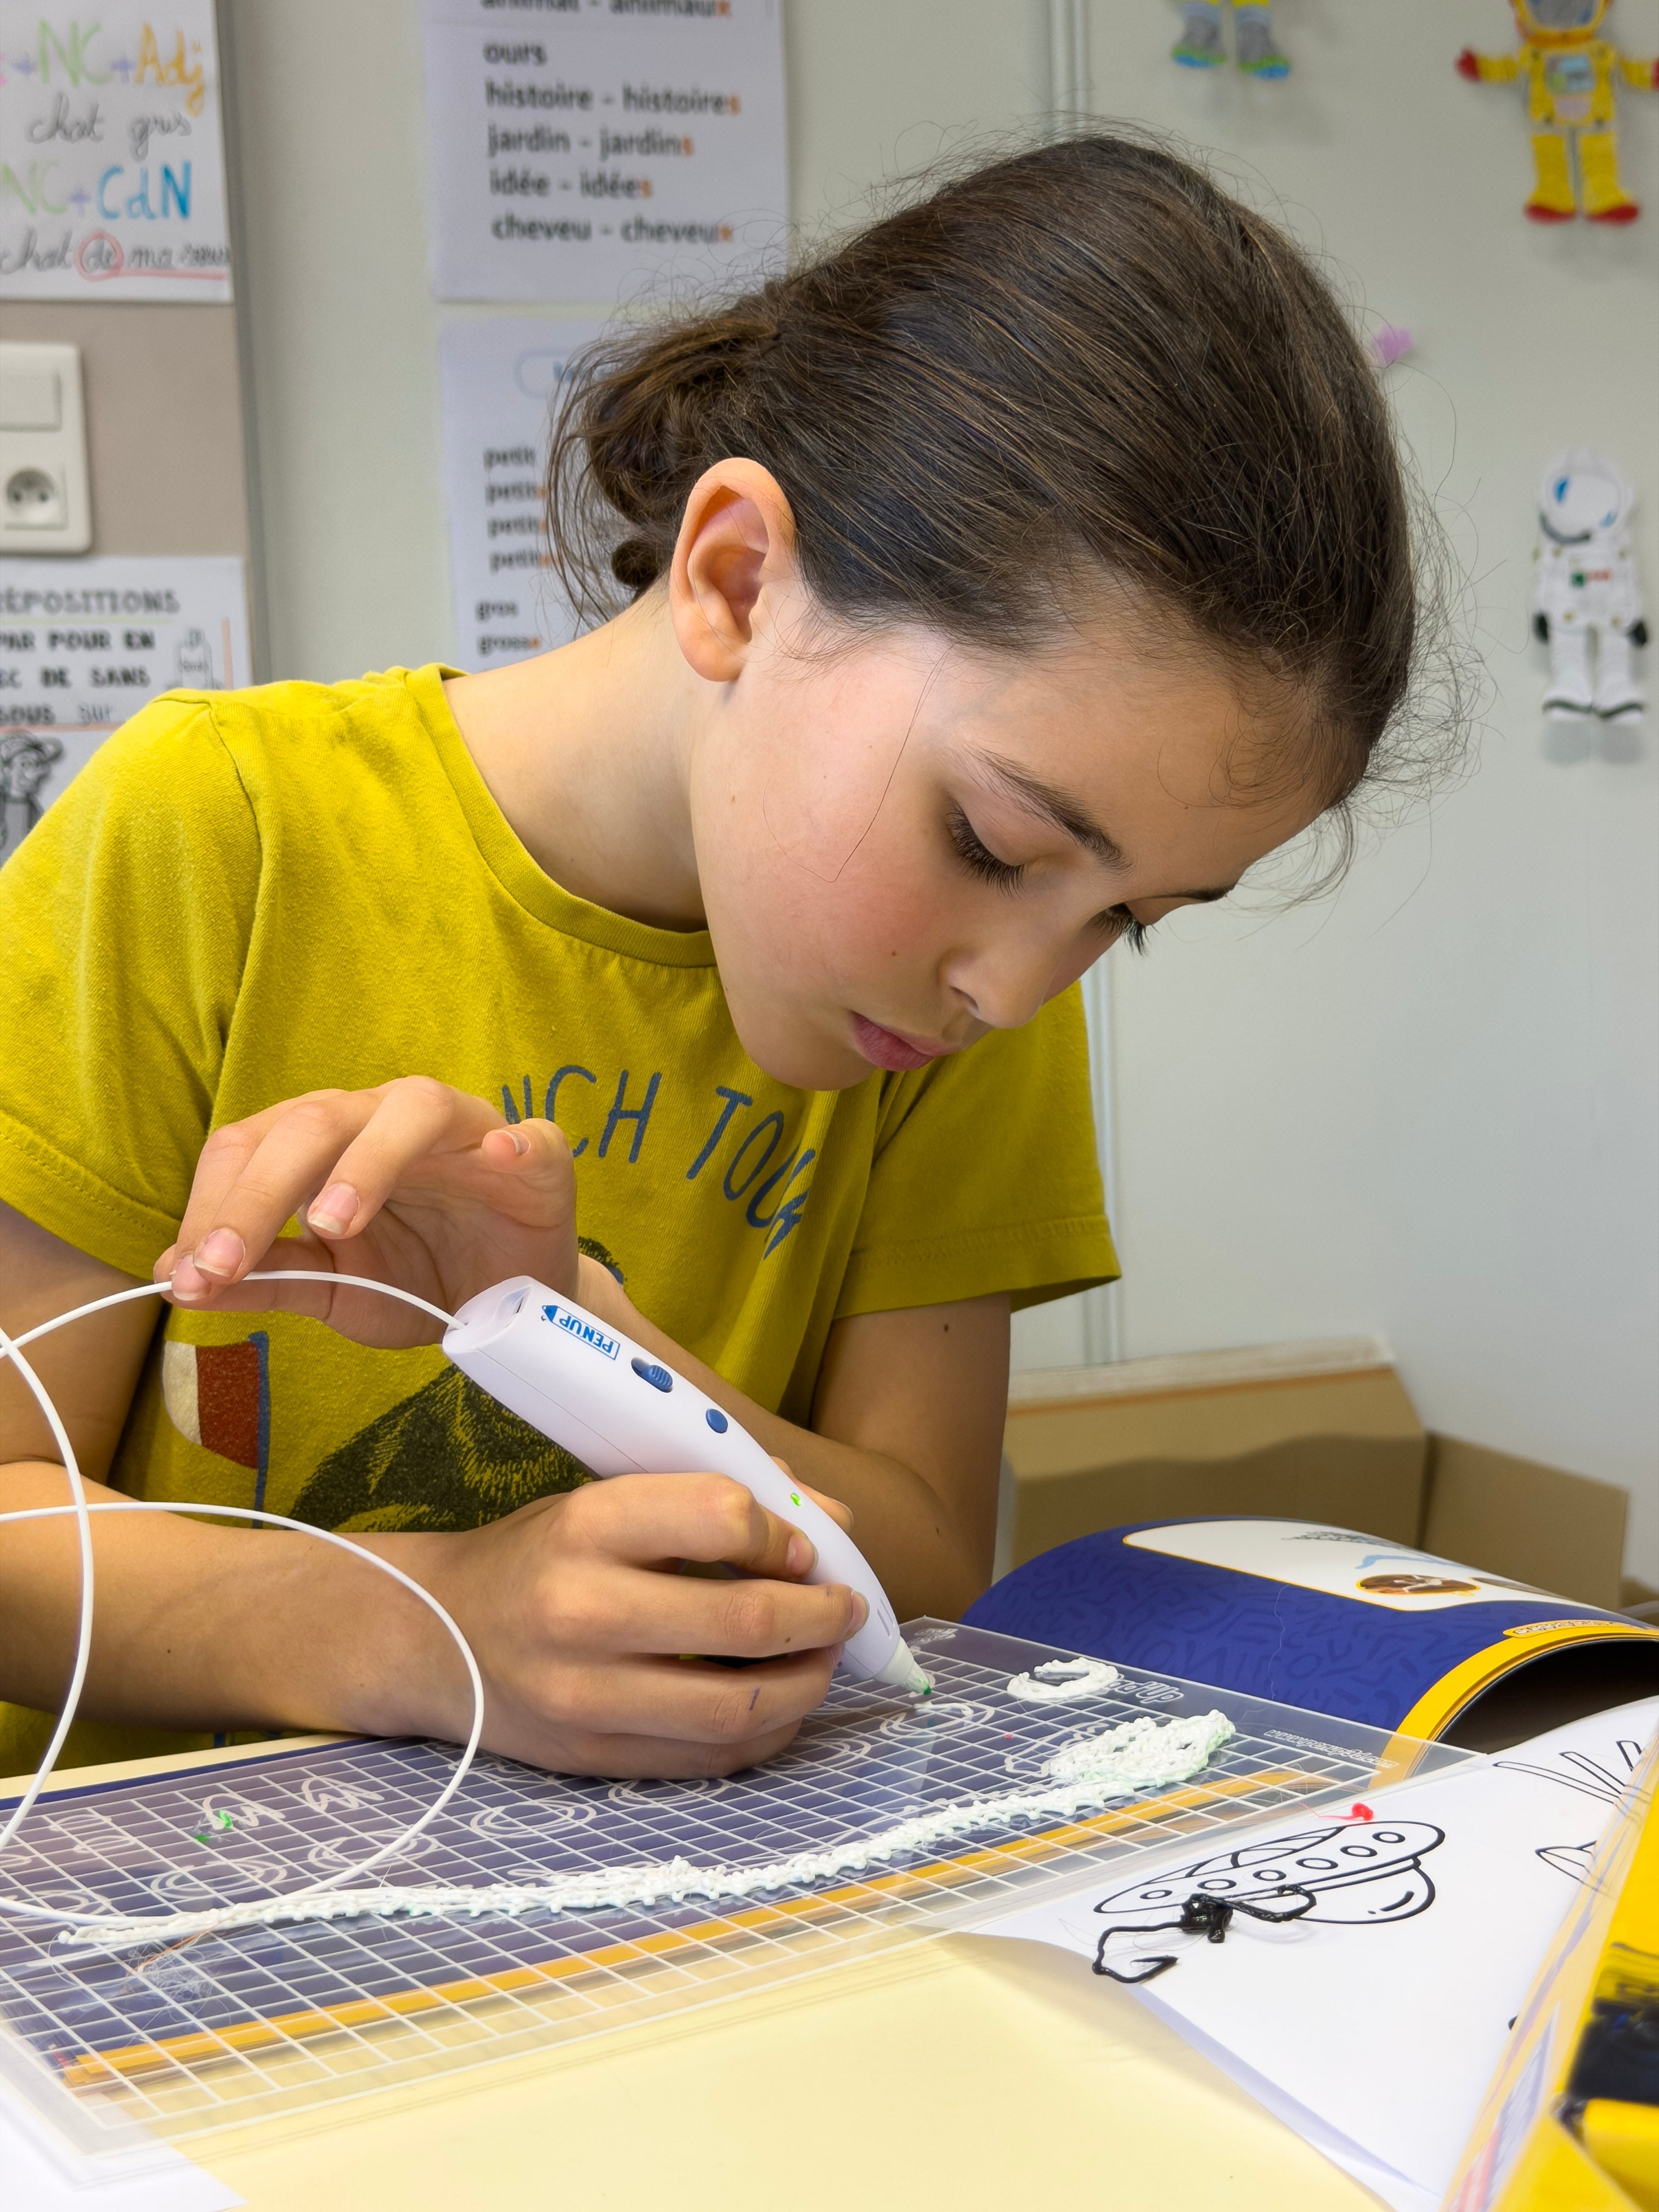
The most effective way to start is drawing flat on a stencil: from age 6, children trace over a printed outline, the filament hardens in a few seconds, and they peel off their very first shape. With a child-friendly pen like Pen'Up (low-temperature 35 °C nozzle surface, with no burn risk), they learn to manage speed and pressure without getting discouraged.
Pad'Up stencils are designed specifically for this: templates to trace that guide the hand and guarantee clean results right from the start. Perfect for 6 to 8-year-old beginners.
This first success matters more than you might think. Researchers from Harvard, Yale, and Duke documented what they call the IKEA effect in adults (Norton, Mochon, and Ariely, 2012, Journal of Consumer Psychology): people place significantly higher value on items they build themselves compared to identical premade ones, provided they complete the assembly. That is likely what happens when a child proudly shows off their finished flower or nameplate—which is why starting with designs simple enough to complete in a single session is key.
What are the 5 easiest flat drawings to make (beginner level)?
The 5 easiest 3D pen designs are a flower, a heart or star, a butterfly, the letters of a name, and a little fish. All are made flat on a stencil or sheet of paper in 5 to 10 minutes each, then peeled off once hardened: ideal for an instant first success from age 6.

- A flower: petals around a center, a stem. The timeless classic for a successful first drawing.
- A heart or star: simple shapes, perfect for practicing how to close an outline cleanly.
- A butterfly: two symmetrical wings that children can color in using multiple filaments.
- The letters of a name: trace, thicken, peel off: a perfect personalized bedroom door sign.
- A little fish: a body, scales, a fin: ideal for having fun with details.
Which animals and characters should you make with a 3D pen (intermediate level)?
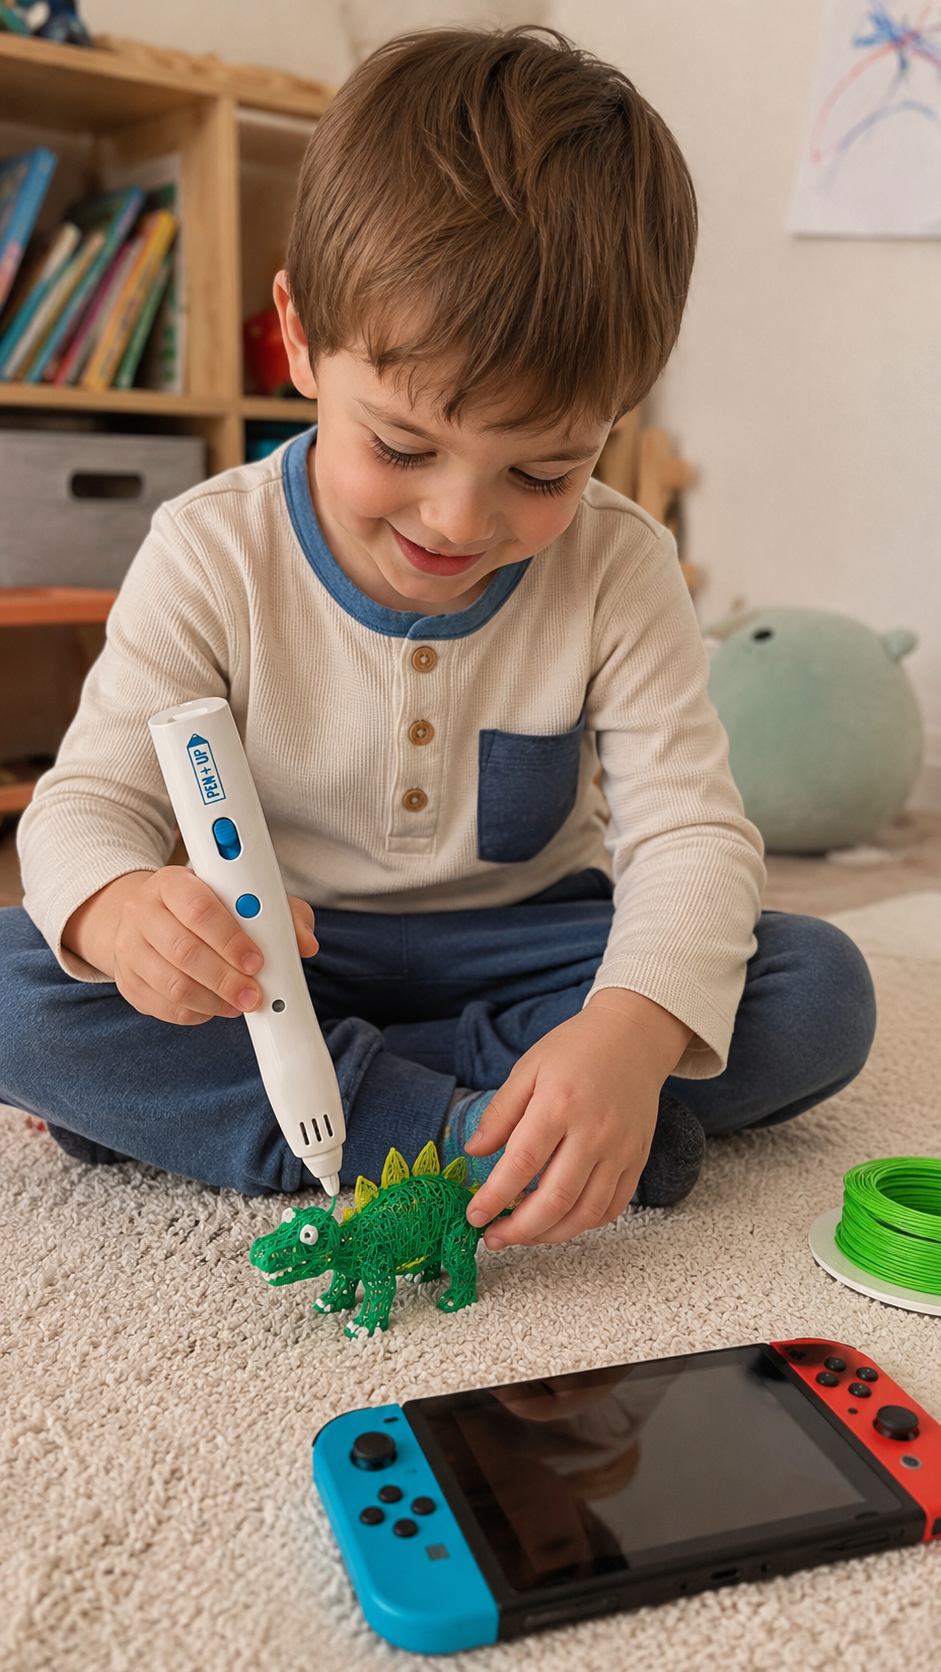
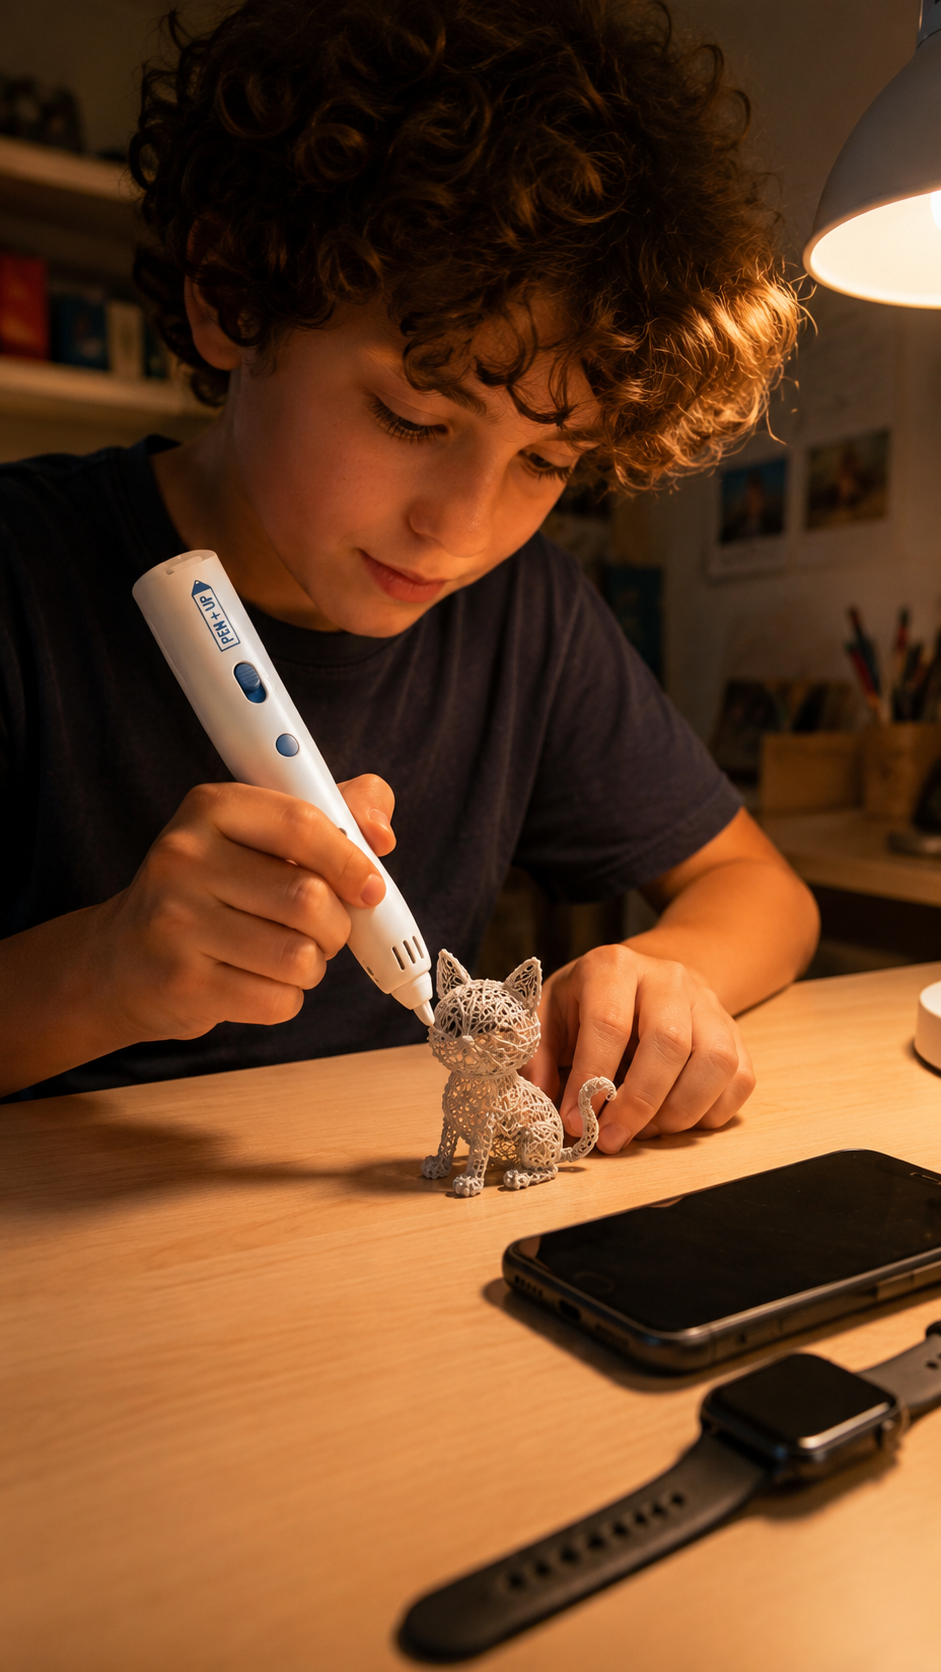
Around ages 8 to 10, once flat tracing is mastered, the 5 best animal and character models are the turtle, cat or dog, dinosaur, stick figure, and ladybug. The technique: draw 2 to 5 pieces flat, let them harden, then assemble them upright to build your first 3D creation.
- A turtle: a curved shell set on four small flat legs.
- A cat or dog: a body, a head, ears: assemble the pieces upright.
- A dinosaur: the favorite for ages 7–10, featuring back plates that are easy to recreate.
- A stick figure or figurine: body, arms, legs: children invent their own characters.
- A ladybug: a red dome with black spots, simple and always cute.
To move from flat to 3D volume, the process is always the same: draw the parts flat, let them harden, then weld them together with a line of filament. Our complete 3D pen guide walks you through this technique step by step.
Which 3D objects can you build with a 3D pen (advanced level)?
From around age 9, the 5 most rewarding 3D objects to make are the Eiffel Tower, the small house, the keychain, glasses or a crown, and the cube or mini-vase. Each project is assembled side by side from flat pieces, taking between 30 minutes and a few hours depending on complexity.

- An Eiffel Tower: the ultimate "showpiece" project, assembled side by side.
- A small house: four walls, a roof: perfect for understanding 3D assembly.
- A keychain: a solid flat shape + a ring: useful and customizable.
- Glasses or a crown: wearable creations that are always a hit.
- A cube or mini-vase: assemble the sides, build upward: 3D magic at its best.
What research says: building in 3D is more than just a test of patience; it develops spatial skills (visualizing an object in three dimensions, rotating it mentally). A meta-analysis of 217 studies published in Psychological Bulletin (Uttal et al., 2013, link) shows that these skills are malleable: they improve with practice, and these gains endure over time. Additionally, researchers in Hong Kong (Ng and Ye, 2022, Asia Pacific Education Review) observed primary school classrooms using 3D pens in geometry: by tracing edges and faces in space themselves, students attached physical gestures and words to abstract concepts. Making a house or a cube with a 3D pen is the playful version of this exact exercise.
What can you draw with a 3D pen based on age?
From ages 6 to 8, stick to stencil-guided flat drawings; from 8 to 10, move on to assembling first 3D shapes; from age 10 and up, explore ambitious objects and freeform creation. Base your choice on the child's skill level rather than their exact age: it is the best guide.
| Age | Type of creations | Template examples |
|---|---|---|
| 6-8 years old | Flat drawings on stencils | Flower, heart, name, simple animals |
| 8-10 years old | First 3D structures through assembly | Turtle, house, figurines |
| Ages 10 and up | Ambitious objects and freeform creations | Eiffel Tower, vase, mechanisms |
This step-by-step progression is more than just parental intuition. Mihaly Csikszentmihalyi's research on "flow"—the state of being fully absorbed in an activity—shows that students' focus peaks when the challenge matches their skill level: neither too easy nor too hard, and when they feel in control of their work (Shernoff, Csikszentmihalyi et al., 2003, School Psychology Quarterly). This is the exact logic behind a template list ranked by difficulty, where kids choose a slightly more ambitious project each time.
The tip that works for all ages: alternate between guided templates (for success) and freeform creation (for self-expression). That is what keeps the fun going. Pen'Up creative booklets also follow this exact age progression (6+, 9+, 12+).
Where can you find templates and crafting supplies?
The simplest way to start is with Pad'Up stencils to guide the hand, filament refills for a wide range of colors (from €4.99), and by following the Pen'Up creative booklets offering progressive templates by age (6+, 9+, 12+). To get everything at once, the Complete Pack at €99.99 includes the pen, stencils, templates, and spools.

Specifically: Pad'Up stencils for early outlines, Fil'Up filament spools (low-temperature PCL, 10 m, official spools only to prevent clogging the pen) to vary colors, and the Pen'Up 3D Complete Pack to start creating on day one.
FAQ, 3D Pen Templates and Designs
What are the easiest designs to make with a 3D pen?
Flat drawings to trace on a stencil: a flower, a heart, a star, a butterfly, or the letters of a name. Children follow the outline, the filament hardens, and then they peel off their shape. It is ideal for beginners to succeed on their very first try.
What can a 6-year-old draw with a 3D pen?
Choose simple flat designs (flower, heart, simple animals) on stencils that guide the hand. At this age, children enjoy recreating clean shapes before moving on to 3D volume.
How do you make a three-dimensional (3D) drawing?
You draw several pieces flat, let them harden, and then assemble them upright by applying a line of filament along the edges: the warm filament welds the pieces together. That is how you build a house, a figurine, or an Eiffel Tower.
Do you need stencils to get started?
It is not mandatory, but highly recommended: stencils like Pad'Up guide the hand and ensure neat results from the very first attempts, preventing frustration and inspiring kids to keep creating.
Where can you find 3D pen project ideas?
In the included templates and stencils (such as Pad'Up stencils), and by taking inspiration from simple everyday shapes (flowers, animals, objects). The best approach is to alternate between guided templates and freeform creation to keep the excitement alive.